Showing posts with label scarab. Show all posts

Sunday, March 19, 2023

Jewelry Making: How To Carve An Egyptian Scarab From A Cabochon


Hey friends! I always wanted to learn how to #1 carve stones and #2 create my own scarabs—remember those bracelets from the 1920's through the 1960's? I love them. 

When I was a little girl I remember my mom letting me look at the pieces she had in her jewelry box (high school: class ring, nursing school: class ring, nursing school: pins, clip-on and screw-on earrings with baroque pearls, the odd brooch shaped like a big gold leaf with pearls, a couple ladies watches...and the colorful scarab link bracelet. I think it was my favorite thing in her jewelry box—at least it was the one thing that truly intrigued me! The different colored semi-precious stones carved to look like little beetles, each with an odd character carved into the reverse side—so cool!

Years ago I wrote a blog post (in 2012) with a little tutorial on how to make a pendant necklace with a scarab bead, and later in 2016 I wrote another little tutorial for how to make a bracelet with a scarab bead, but since then, scarab beads have been hard to find. 

You can get them on Etsy but they are mostly cabs and not beads. Plus, when I'm looking for something in particular, I tend to have a concrete vision in my mind of exactly how I want it to look—the size, the color, and so on. Oftentimes it's difficult to find exactly what you're envisioning!

Here are two types that I came across on Amazon (affiliate links):


Enter my big container of cabs. One day the idea just struck me: why not try to make my own scarabs?


Yes! That is the answer! Of course I will! And how much fun it will be!


So I collected what tools I had in my workshop that I thought would do the trick and got out my big container of inexpensive cabochons that I had collected over the years. 


I found that the scarabs were incredibly easy to create—with a little bit of a learning curve, of course, but I #1 had fun and #2 now had scarabs! Check out the video on my YouTube channel to see exactly how I did it. Maybe you will want to try your hand at making scarabs too! And enjoy the rest of your weekend! Hurry up spring! 
Laura

PS - My brand new (and 3rd) jewelry making book will be released in April - stay tuned!


You might also like:


Article copyright ©Laura Beth Love 2023 and may not be republished in print or other media without express written permission from the author. For any link updates or corrections leave correct info in comment area

Wednesday, August 10, 2016

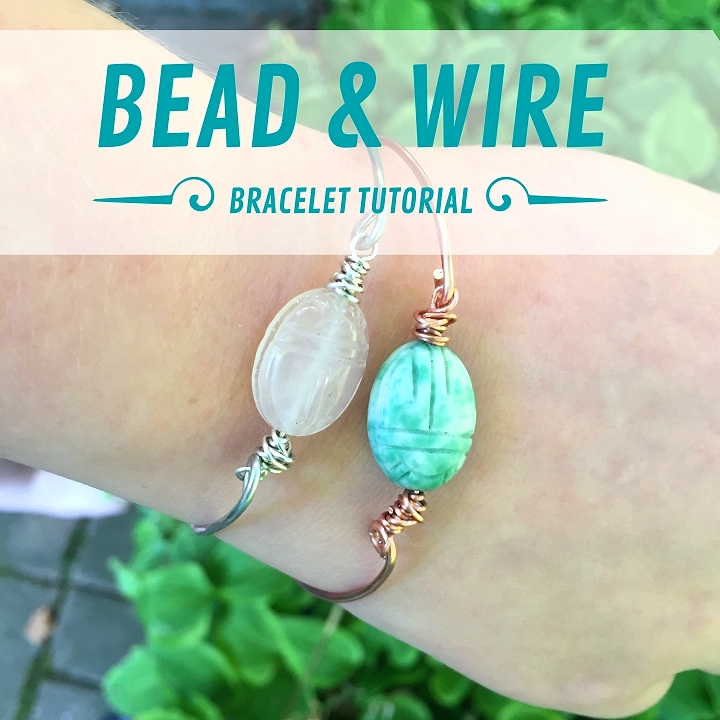
Easy Scarab Bead & Wire Bangle Bracelet Tutorial

You don't have to be a jewelry expert or have tons of fancy jewelry tools to make your own wire and bead bangle bracelets! All you need are a few basic jewelry hand tools, wire, and a few focal beads. 

FAQ: "focal beads" are larger-sized beads that are the focus of the jewelry piece. They are called focal beads because of their large size, which makes them the focus of the design. Check out how easy it is to make your own wire and bead bangle bracelet with this photo tutorial!


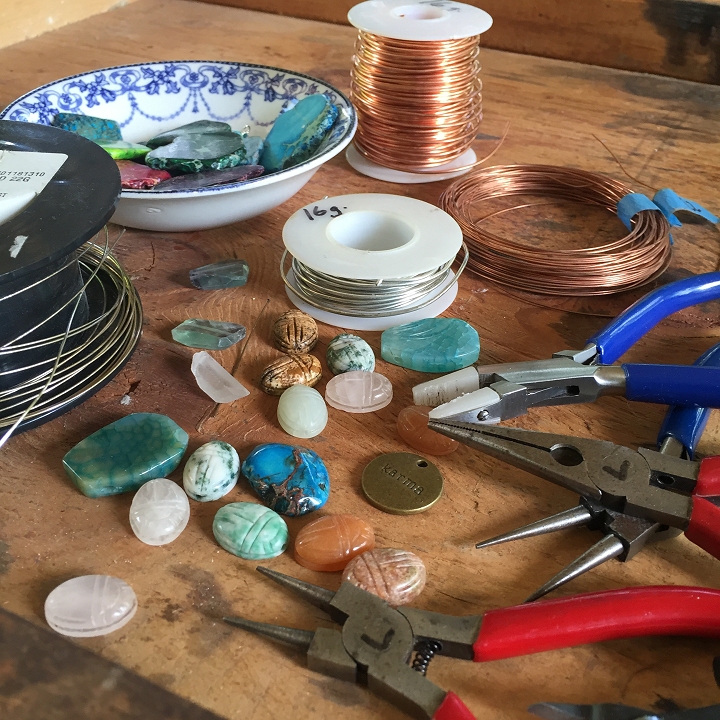
Gathering my tools and supplies. 

Choosing my focal bead...hmm...well if you've followed my blog for a while, you probably already know how much I love scarabs! Scarab it is! 

Here is what you will need:
  • Chain nose pliers
  • Round nose pliers
  • Heavy gauge wire: copper, silver or brass (I used 16 gauge)
  • Thin gauge wire that fits your bead's hole: copper, silver, or brass (I used 22 gauge)
  • Nylon jaw (wire straightening) pliers 
  • Side cutters
  • Metal file
  • A focal bead of your choice (I used a stone scarab bead that was approx 20mm x 15 mm)
  • Ball peen hammer and bench block 
  • Bracelet mandrel or bottle or glass to shape wire around for bracelet

Our first step is to straighten the wire and then form the bracelet. Use your nylon jaw pliers to straighten a length of 16 gauge wire. I didn't measure, I just straightened about 8 inches of the end of my spool of wire.


Next wrap the straightened end of wire around your bracelet mandrel, glass or bottle. I used this vitamin bottle to form my bracelet. Note that the wire is still attached to the spool.

Now you will use your wire cutters to cut the wire, but first read this:

Important: The length of the wire you cut will determine the size of your bracelet. If you have another bangle bracelet at home that you wear a lot, you can measure it to use as a guide and then cut your wire in that same length. If not, you can measure your wrist with a tape measure or piece of string and go with that. (TIP: practice with inexpensive wire before using the good stuff!) 

Remember that this is a bangle bracelet, so it needs to be large enough to fit over your hand. You may want to make a practice one with inexpensive wire (try copper wire from hardware store) before using more expensive wire. Handcrafted jewelry making is in no way an exact science and takes a bit of trial and error, so don't feel bad about practicing and always leave a little room for error! Once you cut your wire, use your metal file to file down any sharp or pointy ends. 


Now we will form a small loop at each end of the wire, turning the loop in towards the inside of the circle. 

To do this, grip one of the ends of your wire with your round nose pliers and turn the pliers in toward the center of the wire circle to form the loop. 

Then repeat this step and make a second loop on the other end of your wire.

Now place the wire on your steel bench block and use your ball peen hammer to lightly hammer the wire, then flip it over and hammer the other side. This will harden your wire and help it to keep its shape. 

This image shows how the focal bead will be situated between the loops, closing the bangle.

Use your nylon jaw pliers to straighten a 10" length of 22 gauge wire. (TIP: Make sure the wire fits through the hole in your bead before straightening and cutting the wire. If it does not fit, use a smaller gauge wire or chose another bead.) Measure the straightened wire and then cut the wire from the spool with your wire cutters.

Thread your focal bead onto the 22 gauge wire and position the bead in the center of the wire. 

Now we will make a wrapped loop in the wire on each end of the bead. Starting on one side of the bead, use your chain nose pliers to grip the wire where it comes out of the bead. Bend the wire over the tips of your pliers making a 90 degree angle in the wire.

Now use your round nose pliers to grip the wire where you made the angle and bend the wire around the round jaw of the pliers, creating a loop. (TIP: If you have never made a loop before, practice on scrap wire first until you get it right.)

Next remove your round nose pliers from the wire and use them to grip the loop that you just made. Use your other hand to wrap the tail end of wire around itself just below the loop, wrapping it around the "neck" of the wire. Continue wrapping the wire snugly around the neck until all wire is used up. 

Use your fingers to feel the wrapped wire for any pointy ends. Use your pliers to tuck any pointy end of wire in between the previous wraps.

Repeat this process with the wire on the other side of the bead to create an identical wrapped loop on the other end of your bead. 

Next we are going to attach our bead to the loops on our bracelet, so use your pliers to gently open the bracelet loops just enough so that you can slip the wire loop from the bead onto the open bracelet loop. 

Then use your pliers to securely close the loop on the bangle, making sure the end of the bangle wire is snug against itself so that your bead does not slip off. Repeat this process on the other side to form your bangle!

Your bracelet is now finished! 

Make a few and wear them together, make them for gifts or to match your favorite outfits! Imagine all the different bead combinations you could make! 

I hope you enjoyed this free tutorial!


I hope you have a great week! 
Laura


My broken china jewelry is always available for purchase at https://www.etsy.com/shop/dishfunctionldesigns


article and images ©Laura Beth Love 2016

Monday, October 22, 2012

New In My Shop This Week


I've been crazy busy preparing for the upcoming holiday season, 
ordering supplies, thinking of some new designs and of course, 
trying to keep up with requests of, "Can you make me
 another one like that one that sold" (I'll try!)
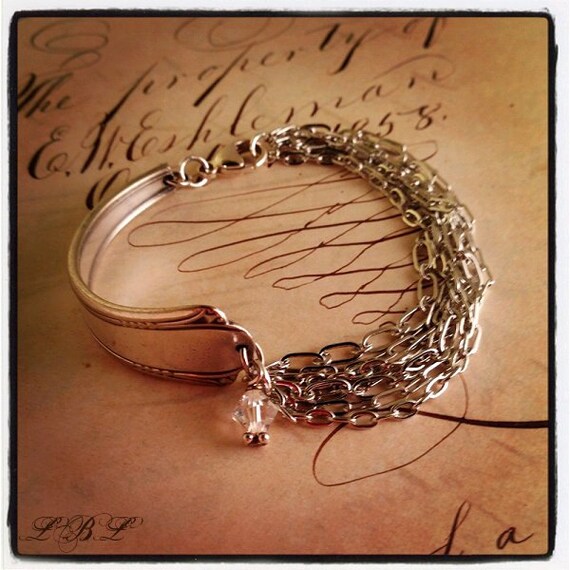
In the meantime, here are a few new pieces that I listed
 in my shop this week! I hope you like them!


Art Nouveau Single Silver Spoon Bracelet with multi-strand chain and Swarovski Crystal

      Art Nouveau Single Silver Spoon Bracelet with multi-strand chain and Swarovski Crystal


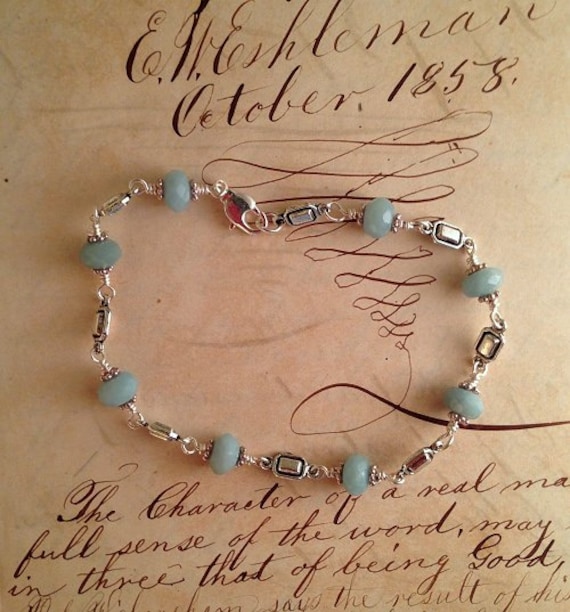
Boho Amazonite and silver link bracelet delicate Bohemian style


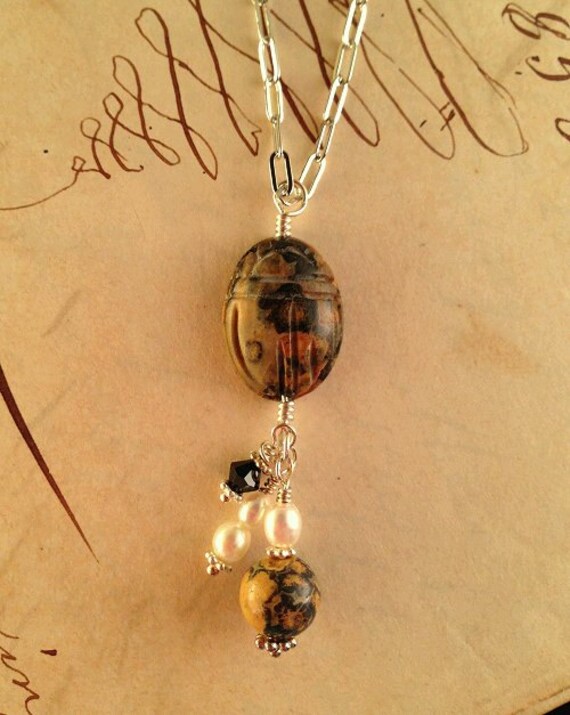
Carved scarab pendant necklace with leopard jasper, pearl, and crystal beads


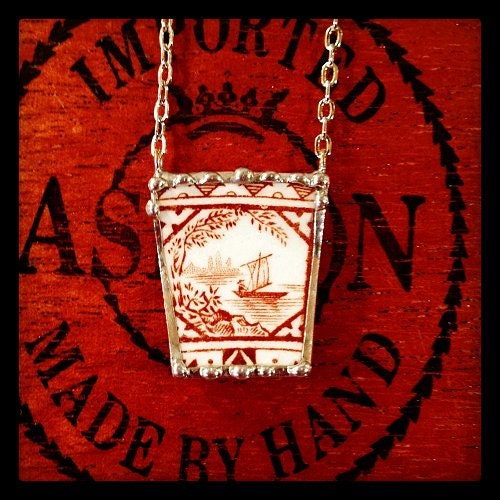
Broken china jewelry necklace antique amber brown scenic English transferware 1850's boat lake


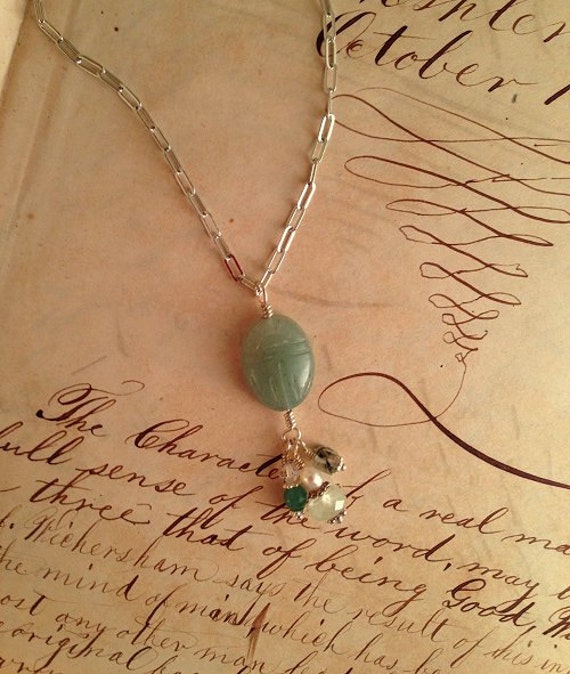
Carved scarab pendant necklace with prehnite, aventurine, and tourmalated quartz beads


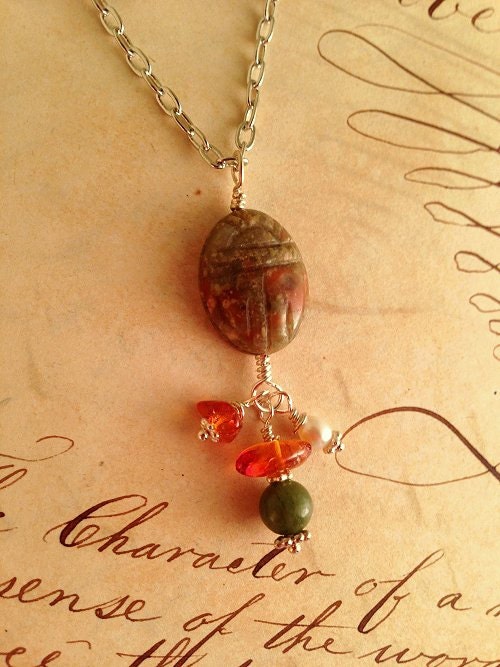
Carved scarab pendant necklace with amber, unakite, pearl and jade beads


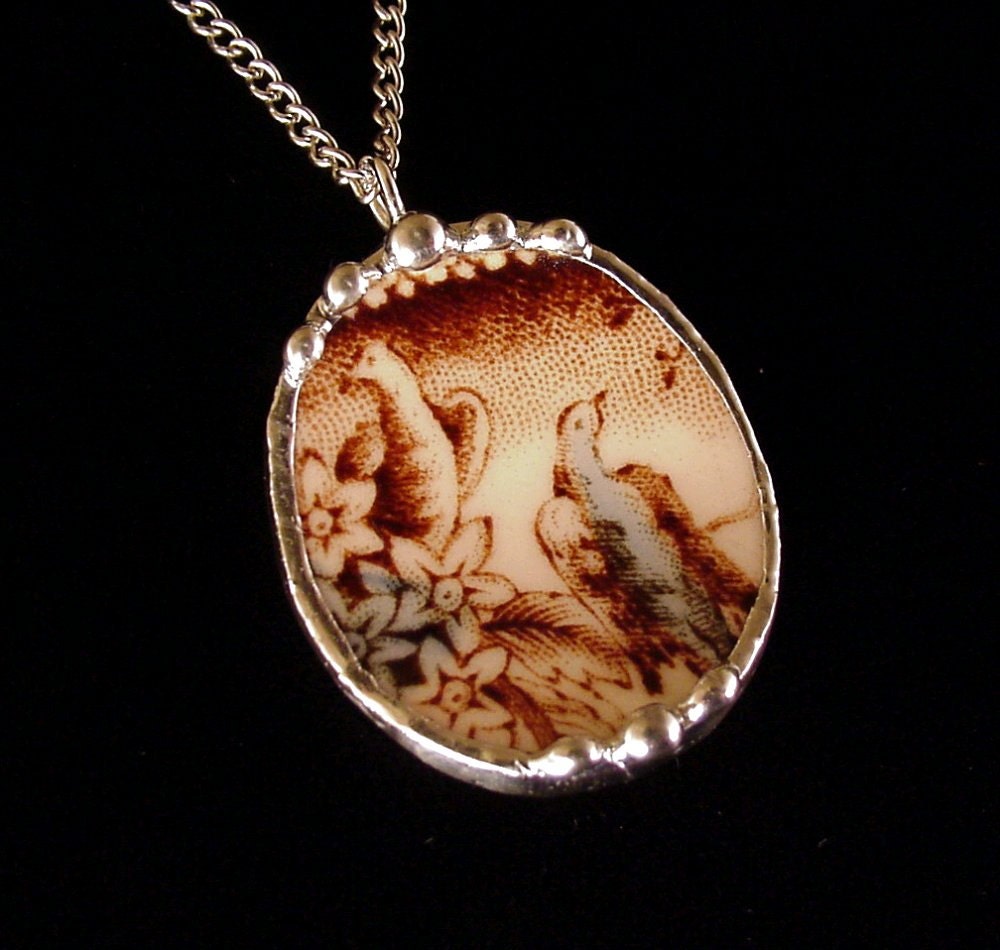
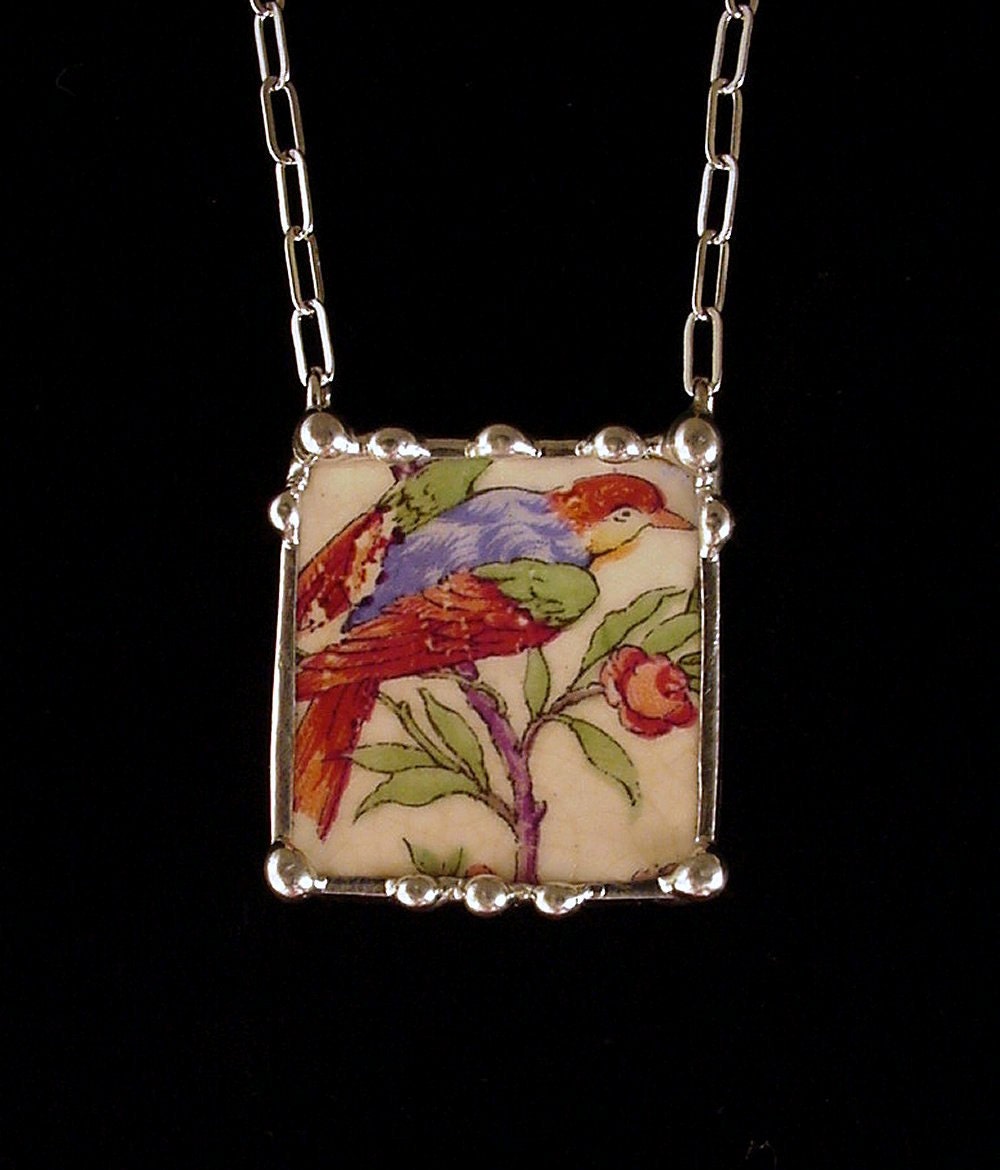
Broken china jewelry oval pendant necklace antique English transferware with birds


Antique bird of paradise colorful broken plate broken china jewelry necklace


I hope you have a great week 
Love, Laura


My broken china jewelry is always available for purchase at https://www.etsy.com/shop/dishfunctionldesigns


Tuesday, September 18, 2012

How To Make A Scarab Necklace


Remember scarabs?

Scarab beetles were worshiped by the ancient Egyptians. 
Mysterious!

 I've always liked scarabs because #1, I think they're interesting 
and #2, I think they make unusual & unique jewelry. 

Check out how I turned some scarab beads into jewelry pendants!


On my workbench... I'm going to turn these carved stone scarab beads into one of a kind 
necklace pendants. 


My sketch inspiration. The page says I sketched this one on 2/7/08! Sometimes ideas and designs
 stay on paper a long time until I actually fabricate them into finished works. Half of it is finding the
time to try out new designs, the other half is being in the mood! Mood is everything!


The first thing I did was cut a 4" length of 22g sterling silver wire, strung on my scarab, and made a wrapped
loop on each end of the wire. The top loop will serve as the bail to hold the chain. The bottom loop 
is where I will attach a few beaded accents of coordinating beads. Notice how I made the 
directions of the loops opposite each other. 


Here's the wrapped loop from the bail end that will accommodate the chain
I make that loop a little larger than the one that will be on the bottom.


And then there were three. Now for the fun part...


Choosing coordinating beads for the beaded drops. I use a selection of gemstones, pearls and or crystals.


I used sterling silver headpins for the beaded drops and simply made three drops for
 each scarab and attached them to the bottom loop with another wrapped loop. That's it!


The finished scarab necklaces.


A few types of scarab beads (affiliate links):


Pin this post!


What do you think?


I hope you have a great week 
Laura


My broken china jewelry is always available for purchase at https://www.etsy.com/shop/dishfunctionldesigns