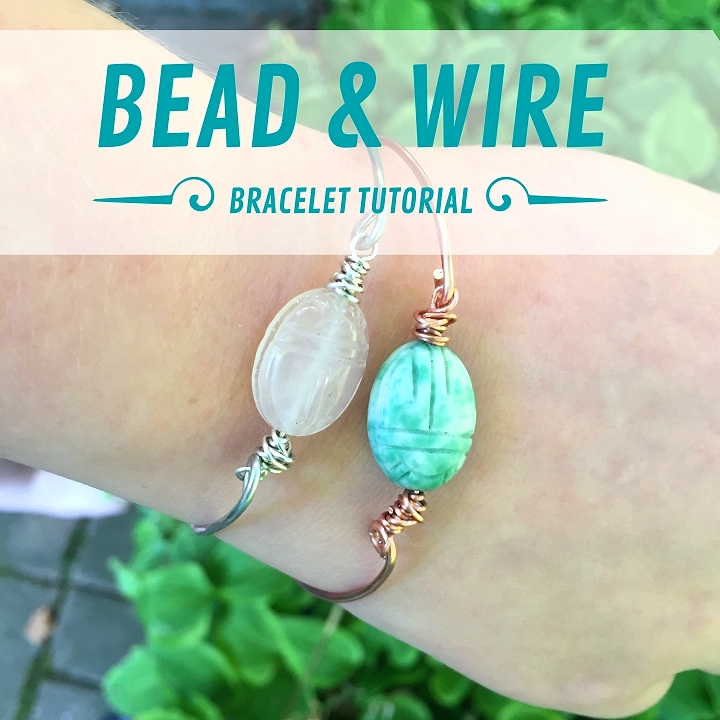
You don't have to be a jewelry expert or have tons of fancy jewelry tools to make your own wire and bead bangle bracelets! All you need are a few basic jewelry hand tools, wire, and a few focal beads.
FAQ: "focal beads" are larger-sized beads that are the focus of the jewelry piece. They are called focal beads because of their large size, which makes them the focus of the design. Check out how easy it is to make your own wire and bead bangle bracelet with this photo tutorial!
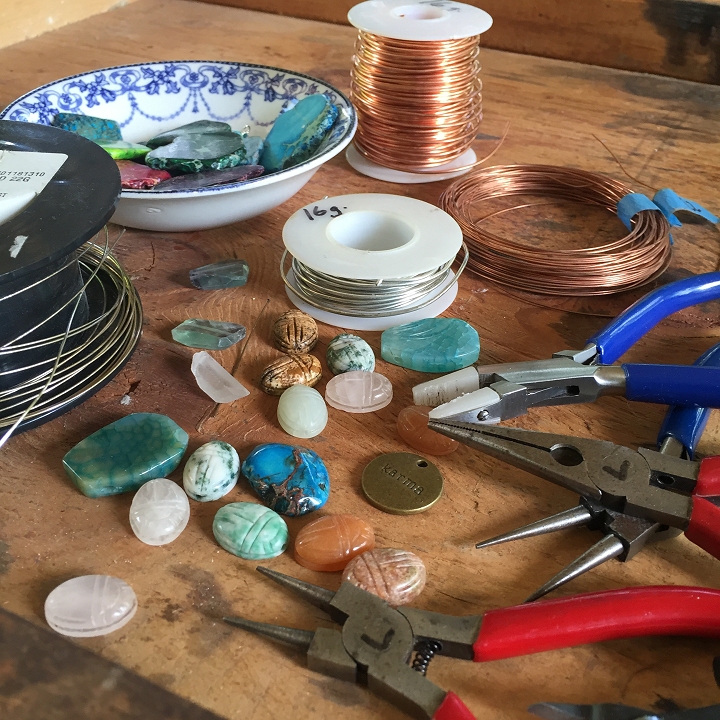
Gathering my tools and supplies.
Choosing my focal bead...hmm...well if you've followed my blog for a while, you probably already know how much I love scarabs! Scarab it is!
Here is what you will need:
- Chain nose pliers
- Round nose pliers
- Heavy gauge wire: copper, silver or brass (I used 16 gauge)
- Thin gauge wire that fits your bead's hole: copper, silver, or brass (I used 22 gauge)
- Nylon jaw (wire straightening) pliers
- Side cutters
- Metal file
- A focal bead of your choice (I used a stone scarab bead that was approx 20mm x 15 mm)
- Ball peen hammer and bench block
- Bracelet mandrel or bottle or glass to shape wire around for bracelet
Our first step is to straighten the wire and then form the bracelet. Use your nylon jaw pliers to straighten a length of 16 gauge wire. I didn't measure, I just straightened about 8 inches of the end of my spool of wire.
Next wrap the straightened end of wire around your bracelet mandrel, glass or bottle. I used this vitamin bottle to form my bracelet. Note that the wire is still attached to the spool.
Now you will use your wire cutters to cut the wire, but first read this:
Important: The length of the wire you cut will determine the size of your bracelet. If you have another bangle bracelet at home that you wear a lot, you can measure it to use as a guide and then cut your wire in that same length. If not, you can measure your wrist with a tape measure or piece of string and go with that. (TIP: practice with inexpensive wire before using the good stuff!)
Remember that this is a bangle bracelet, so it needs to be large enough to fit over your hand. You may want to make a practice one with inexpensive wire (try copper wire from hardware store) before using more expensive wire. Handcrafted jewelry making is in no way an exact science and takes a bit of trial and error, so don't feel bad about practicing and always leave a little room for error! Once you cut your wire, use your metal file to file down any sharp or pointy ends.
Now we will form a small loop at each end of the wire, turning the loop in towards the inside of the circle.
To do this, grip one of the ends of your wire with your round nose pliers and turn the pliers in toward the center of the wire circle to form the loop.
Then repeat this step and make a second loop on the other end of your wire.
Now place the wire on your steel bench block and use your ball peen hammer to lightly hammer the wire, then flip it over and hammer the other side. This will harden your wire and help it to keep its shape.
This image shows how the focal bead will be situated between the loops, closing the bangle.
Use your nylon jaw pliers to straighten a 10" length of 22 gauge wire. (TIP: Make sure the wire fits through the hole in your bead before straightening and cutting the wire. If it does not fit, use a smaller gauge wire or chose another bead.) Measure the straightened wire and then cut the wire from the spool with your wire cutters.
Thread your focal bead onto the 22 gauge wire and position the bead in the center of the wire.
Now we will make a wrapped loop in the wire on each end of the bead. Starting on one side of the bead, use your chain nose pliers to grip the wire where it comes out of the bead. Bend the wire over the tips of your pliers making a 90 degree angle in the wire.
Now use your round nose pliers to grip the wire where you made the angle and bend the wire around the round jaw of the pliers, creating a loop. (TIP: If you have never made a loop before, practice on scrap wire first until you get it right.)
Next remove your round nose pliers from the wire and use them to grip the loop that you just made. Use your other hand to wrap the tail end of wire around itself just below the loop, wrapping it around the "neck" of the wire. Continue wrapping the wire snugly around the neck until all wire is used up.
Use your fingers to feel the wrapped wire for any pointy ends. Use your pliers to tuck any pointy end of wire in between the previous wraps.
Repeat this process with the wire on the other side of the bead to create an identical wrapped loop on the other end of your bead.
Next we are going to attach our bead to the loops on our bracelet, so use your pliers to gently open the bracelet loops just enough so that you can slip the wire loop from the bead onto the open bracelet loop.
Then use your pliers to securely close the loop on the bangle, making sure the end of the bangle wire is snug against itself so that your bead does not slip off. Repeat this process on the other side to form your bangle!
Your bracelet is now finished!
Make a few and wear them together, make them for gifts or to match your favorite outfits! Imagine all the different bead combinations you could make!
I hope you enjoyed this free tutorial!
I hope you have a great week!
Laura
My broken china jewelry is always available for purchase at https://www.etsy.com/shop/dishfunctionldesigns
article and images ©Laura Beth Love 2016


