

I remember when I first got the idea to make jewelry. When it came to the technical aspect of tools and components, as a beginner, I had absolutely no idea where to start.
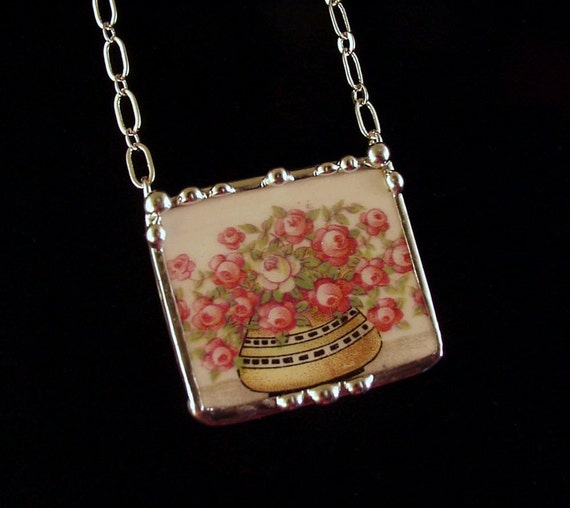
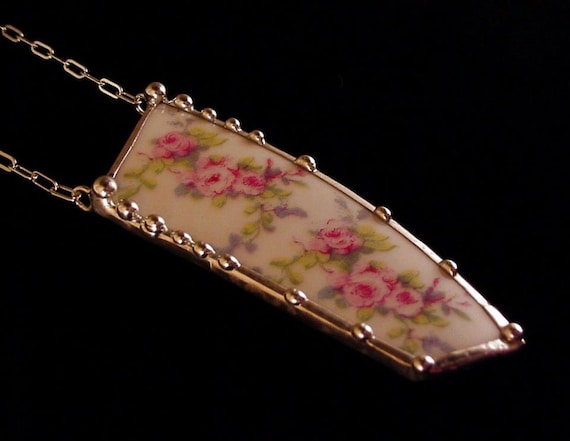
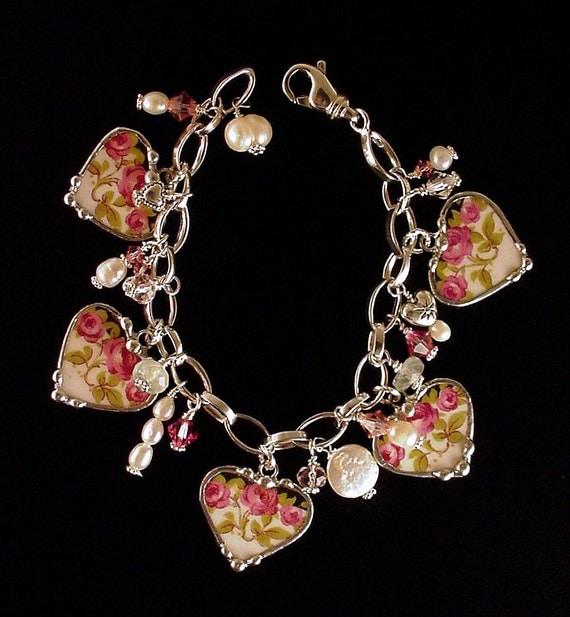
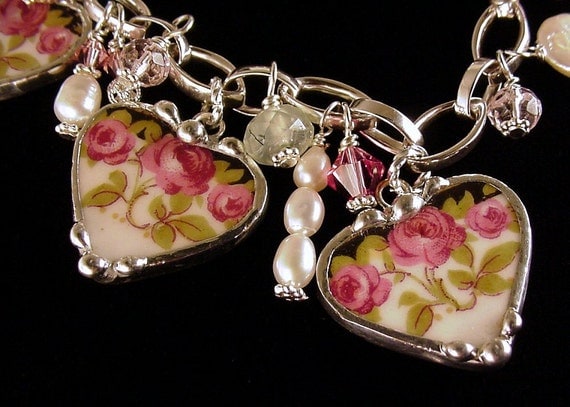
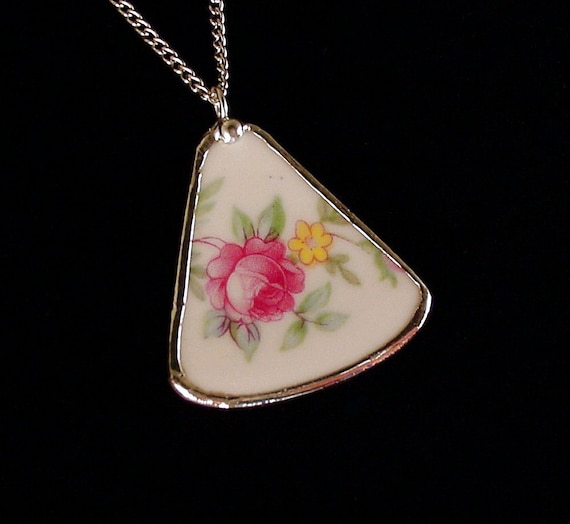
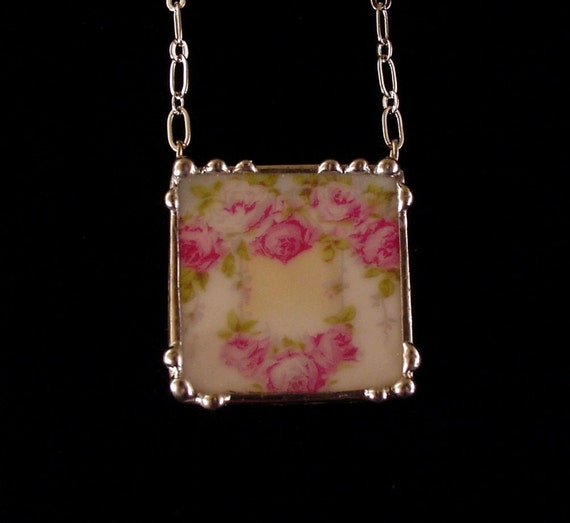
I had been making stained glass and also making mosaics out of stained glass and vintage broken china, when I started setting aside certain china shards that I would come across that just seemed too special to be put into a mosaic. I knew they had to be the main feature in whatever way they were to be recreated, so I set them aside to hopefully one day turn them into jewelry.
When the day came to turn my soldered china prototypes into actual wearable pieces of jewelry, I had to teach myself everything. Learning what the different components were and what they were used for, learning about different metals and chains and wire gauges was a bit confusing at first, but I just took my time and figured it out the best I could. Then came the tools. Some looked like they were from another planet! I quickly found out that there were a lot of tools that I really DIDN'T need, and that the most important thing I needed was my own creativity and lots of good lighting.
But the whole point of this blog post is that we all have to start somewhere. When you first start out, even the most simple necklaces can seem confusing when you're not sure what goes where.
In this beginner tutorial I will show you how to assemble a simple chain necklace with a chain, clasp, and charm. I chose an elephant charm for my project. You can use any type of charm you like. This basic assembly will become second nature to you quickly as you create more jewelry.
Supplies needed:
Jewelry chain in desired length (I use 18")
Lobster-claw style clasp
(1) 4mm jump ring
(2) 5 to 5.5 mm jump rings
2 pair of basic jewelry pliers (sometimes called chain nose pliers)
Jewelry chain in desired length (I use 18")
Lobster-claw style clasp
(1) 4mm jump ring
(2) 5 to 5.5 mm jump rings
2 pair of basic jewelry pliers (sometimes called chain nose pliers)

First, assemble your supplies. It's always good to have extra jump rings in case you accidentally bend one out of shape. Work in a well-lit area. Reading glasses work great for helping to see small components!

First we will add a jump ring to your charm (AKA your component, or your focal piece). Charms sometimes come with jump rings already attached. Yay! Sometimes they don't. So we'll easily add our own. Important: Make sure your large jump ring that you are going to attach to your charm is big enough to fit onto your chain. If it isn't, get a larger jump ring, or get a smaller gauge chain.
First we have to open the jump ring to thread our charm on it. We always use two pairs of pliers to open jump rings. Using two pairs of pliers is important because the jump ring needs to be twisted with both ends turning away from each other (see photo above).
To open your jump ring, hold the jump ring with the seam side up, use one pair of pliers in each hand to grip the jump ring ends where they meet. Now use a small twisting motion to separate the ends of the jump ring so that one end goes up and one goes down (see above photo). The most important thing is that you do NOT pull the ends apart from each other left to right or you will land up with a misshapen jump ring that will never close properly.

Once your jump ring is open, thread your charm onto your jump ring as shown in the photo above.
Now close the jump ring the same way you opened it - using two pair of pliers, one in each hand. Just grip the ends of the jump ring and carefully twist them back together until they meet. If you hear a clicking sound when the ends come together, that's good!

Now thread your charm onto your chain by putting the chain through the jump ring.

To finish your necklace all you need to do is attach your clasp and jump rings to your chain ends as shown in the above photo. To do this, open your smaller (4mm) jump ring using the same technique above, and thread the loop that's on the bottom of your clasp onto the jump ring. Then thread the end of your chain onto the same jump ring and then close the jump ring as we did above.
Now attach your last, larger jump ring to the opposite chain end. This jump ring will serve as the catch for your clasp. That's it! You've put together your first simple chain necklace.

What did you think? Easy? Maybe next time we will add some coordinated beads...
Let me know what you'd like to see!
Have a great week!
love,
Laura

My broken china jewelry is always available for purchase at https://www.etsy.com/shop/dishfunctionldesigns

article copyright ©Laura Beth Love 2017 all rights reserved




.JPG)


