Showing posts with label painted dressers. Show all posts

Sunday, November 2, 2025

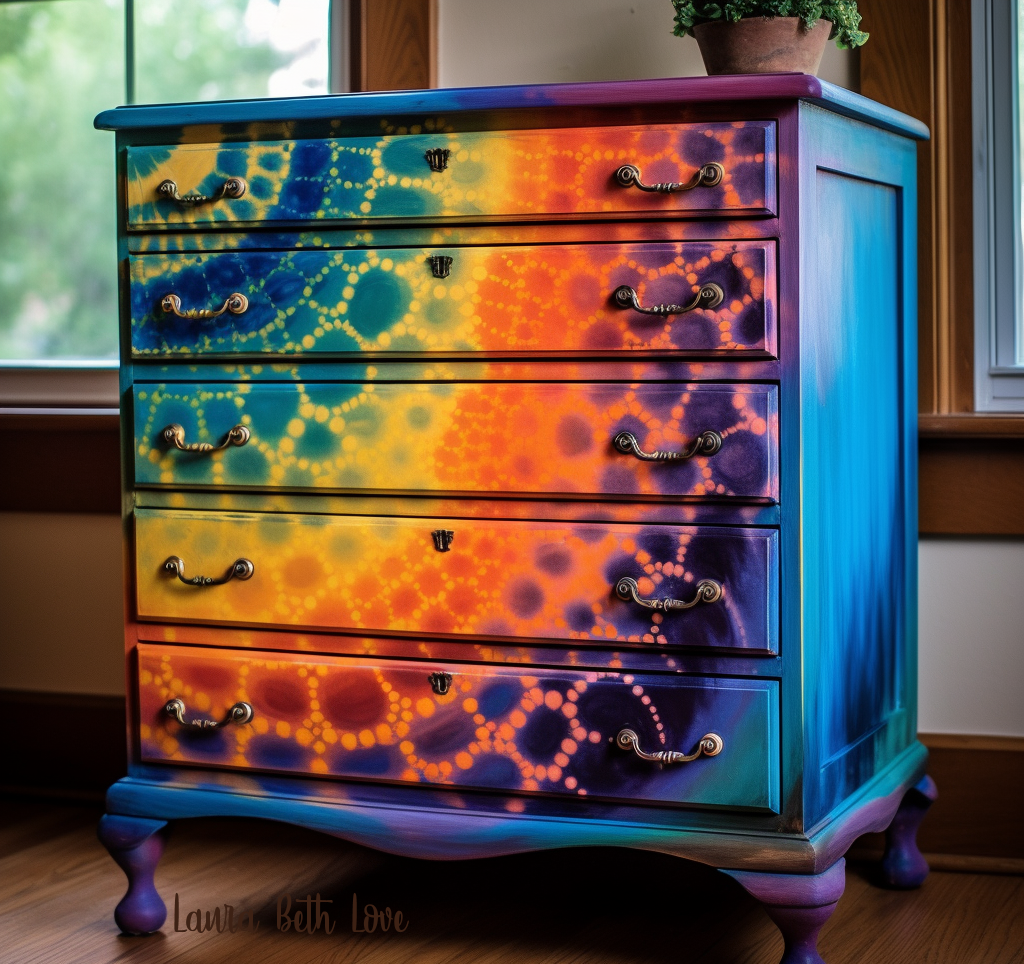
Fabulous Creative Painted Dressers


How lovely it is to rescue a scratched-up or discarded piece of furniture at a thrift store or from a curb and then give it an entirely new life with a healthy helping of paint and creativity. Take a look at these creatively painted dressers and be inspired to create your own!


Happy fall! 
-Laura


You might also like: 


Have a great week!
Laura

Article and images copyright ©Laura Beth Love 2025 and may not be republished in print or other media without express written permission from the author. As an Amazon affiliate, I earn from qualifying purchases.

Monday, July 10, 2023

Upcycled Dressers: Painted & Decoupaged


Give a dresser a contemporary look with bright colors and bold designs.


Do you have an old dresser that you no longer need in the bedroom? Why not repurpose that old dresser into something completely new? 

A fresh coat of paint or a covering of decoupage papers can transform any old dresser into a brand new piece of furniture that doesn't have to live in a bedroom. I have one in my entry way and one in my family room and I have to tell you - I love having the extra storage space for things like hats and gloves and games.

Check out this collection of painted and decoupaged dressers and maybe you'll be inspired to make over one of your own! Don't have an extra dresser to play around with? Check out thrift stores!

Painted flowers are surprising easy to paint. Lay the dresser flat when painting.

I love dark woodland themed rooms and furniture; as a matter of fact I have a new blog post coming up soon with an entire collection of Whimisgoth furniture, so stay tuned! 

Dry brushes, sponges, and old rags can help wipe away and blot on paint, creating an antique, weathered effect like the one seen here. Add the birds and flowers with paint or decoupage papers.

A project for the talented and ambitious: detailed paisley painted designs 

Cute woodland characters are a popular pick for nurseries and kid's rooms


An ombre paint effect with Asian themed designs

Painting drawers different tones and colors is a great vintage look

Folk Art style flowers are easy to paint and require little experience


Decoupage does not always have to be with thin tissue paper. You can experiment with heavier papers and even fabric like the dresser shown above to add texture and lots of interest 

Got an eye for art? Mandalas are easier to paint than you may think! It is just a basic, repeating pattern. Practice on paper first, drawing out and perfecting your design before painting.


Woodland theme for the win!

Shabby chic style with destressed paint and decoupaged papers


Pin this post!


Have a great week!
Laura

Article and images copyright ©Laura Beth Love 2023 and may not be republished in print or other media without express written permission from the author.

Wednesday, June 21, 2023

Color Pop DIY Tie Dye Painted Dressers

Note: This blog post contains affiliate links which help support this blog!


When I think of tie dye I think of summer! 

Not for the faint of heart, these bold and beautiful tie dye painted furniture designs are for those who love bright, free color and whimsical designs. 

Take a peek and be inspired, and maybe you'll want to paint your own too. I'll leave some tie dye furniture painting tips for you below...


My tips for tie-dye painting dressers & other wood furniture pieces

~ Always practice beforehand! A cheap find from a thrift store is your perfect first victim!

~ Apply a solid base coat first. Then apply the colors in thin layers.

~ Before applying other colors, lay the dresser down flat (with the area you are working on facing the ceiling).

~ Using a spray bottle method: Dilute paint or inks with a bit of water (amount depends on how saturated your paint is, test it to find out first) and apply in a mist from a spray bottle. Any areas that appear too dark can be lightly sprayed with a mist of water only to help dilute the dark area. (I'll leave a link to the spray bottles below if you don't already have one)

~ Just as if you were using alcohol inks, use a hair dryer to help move the paint around and to help the paint dry. Or, you can just let it set and dry naturally but it will take longer and you will not get the extra effects that you will with a hair dryer. 

~ To avoid drip marks, allow each side of the dresser to dry before turning it to paint the next side.

~ Once you have layers of different colored paint applied, use a damp cloth to carefully wipe some areas to remove some of the top layers of paint so that the bottom layers show through. Use a light hand.

~ EXPERIMENT with different textured tools - brushes, sponges, cellophane (my favorite), and even stencils to add texture and effects with color.

~ Once finished, applying a top coat is a must to bring out the colors and to act as a protective finish! (I'll leave my recommendation below)


I hope you've found some inspiration! I'll have more upcycled old furniture up in a future blog post soon, so be sure to check back, and be sure to check out my links below! 

Happy Summer!


Pin this post:


You might also like: 


Have a great week!
Laura

Article and images copyright ©Laura Beth Love 2023 and may not be republished in print or other media without express written permission from the author.