Showing posts with label bacon. Show all posts

Monday, March 21, 2022

What To Do With Leftover Bacon Grease Fat: Suet & Birdseed Birdfeeders

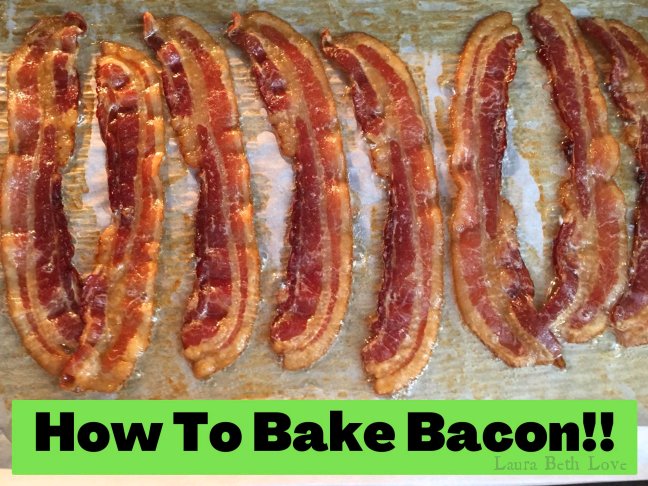
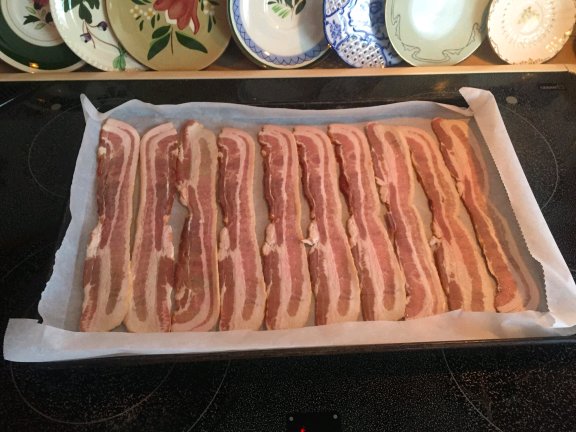
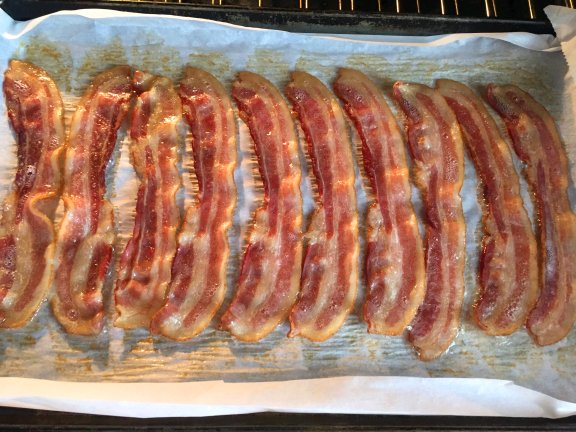
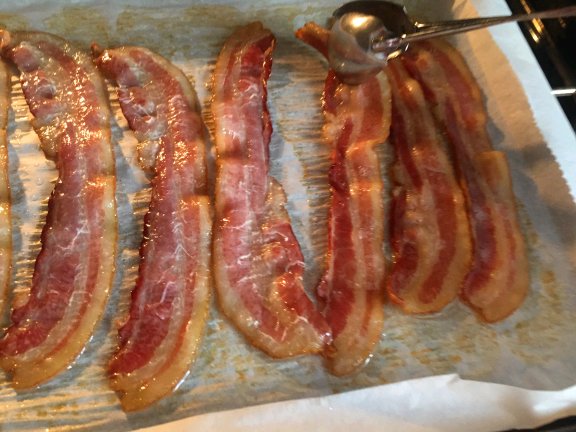
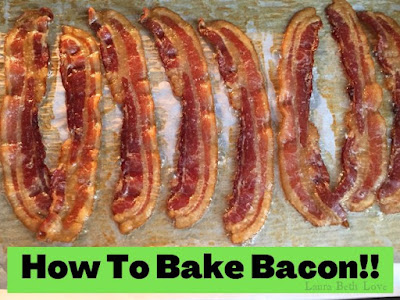
Yesterday I showed you how I baked my bacon in the oven (here it is if you missed it the first time around) at the end of that blog post I said to check back tomorrow and I’ll show you what to do with all the bacon fat!

Well today we are going to use all of that leftover fat and make bird feeders! This project is fast, easy, and there’s virtually no cleanup. It’s also a great project to do with kids.


All you need is your leftover bacon fat, one cup of birdseed, a 1 to 2 cup-sized plastic takeout container (you can use virtually anything for this as long as it’s flexible), a spatula, and a scrap of ribbon or similar material. Let’s get to it!


Directions:


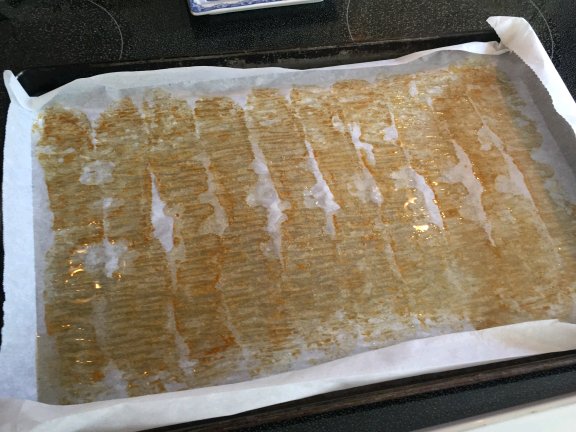
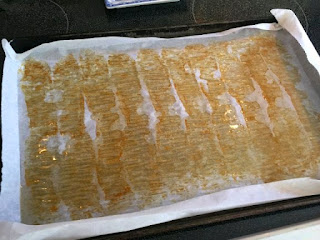
With your liquid bacon fat still on the parchment and in the pan, measure one cup of birdseed and pour it onto the bacon grease covered parchment.


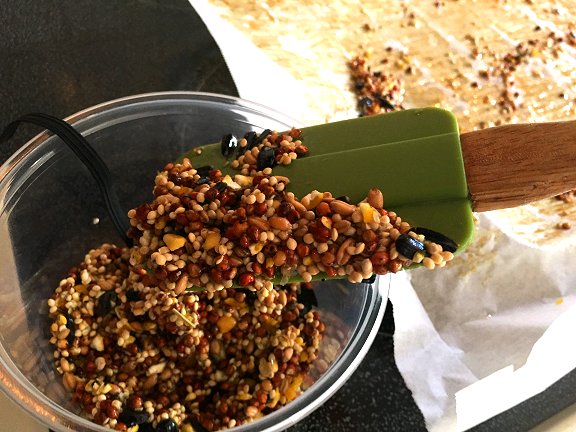
Use a spatula to mix the birdseed into the grease and scrape all of the grease on the parchment onto the birdseed. It doesn’t matter what type of birdseed you use for this project. I used what I usually fill my birdfeeders with which is called “fancy wild bird mix.” I think they call it fancy just because it has sunflower seeds in it :)


Get your plastic container ready. Here is the one I used:

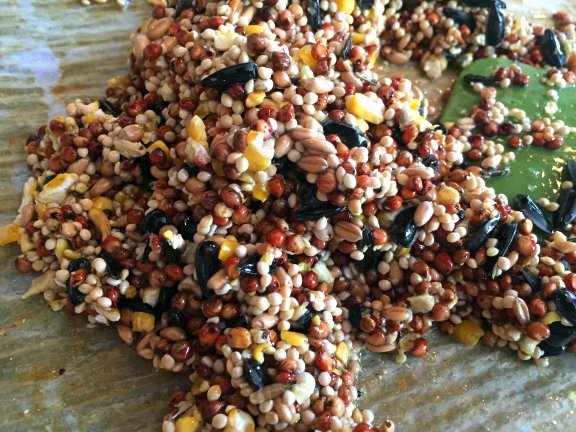
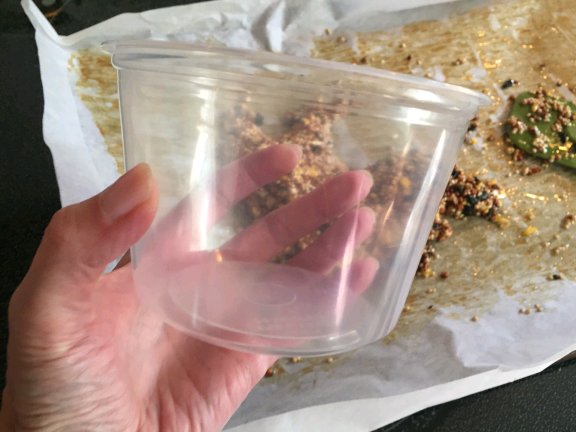
Once your birdseed is completely coated with the bacon fat, use your spatula to scoop about half of the fat coated birdseed into the bottom of your plastic container. Try to make this layer flat.


Next take your ribbon and lay one end of it across the birdseed. Use your hand to hold the ribbon as I am in the photo above, with the other end of the ribbon hanging over the lip of the container. You want to use a piece of ribbon that is at least 8 inches long. We are embedding the ribbon into the birdseed and will use the other end of the ribbon for hanging.

Now use your spatula to scoop the remaining fat-covered birdseed into the container over the ribbon. 


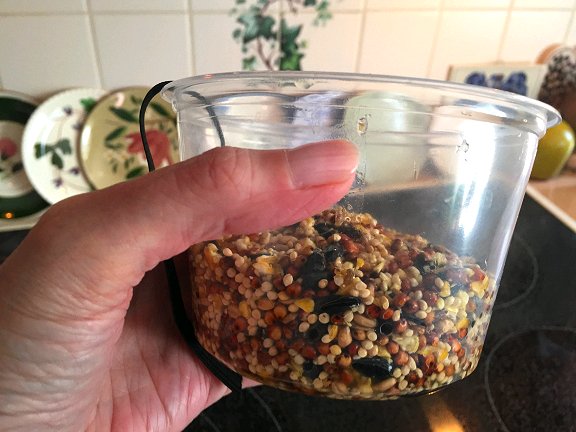
Use your spatula to gently press down on the birdseed to make it compact in the container.


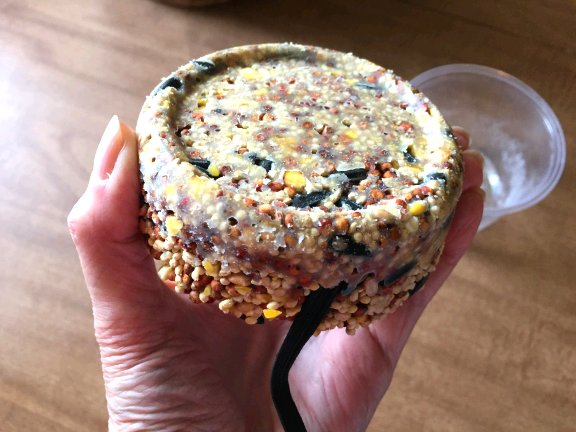
 Put the container with the birdseed and ribbon in the refrigerator. Forget about it for a few hours and then when you go back you will see that the bacon fat has solidified and turned white as shown in the photo. 


Very carefully pop the birdseed disc out of the bottom of your container, being careful not to break it. Do not remove the birdseed disc unless it is completely solidified.

That’s all there is to it! Now use the ribbon to hang your suet birdfeeder outside somewhere and watch the birds go to town. 


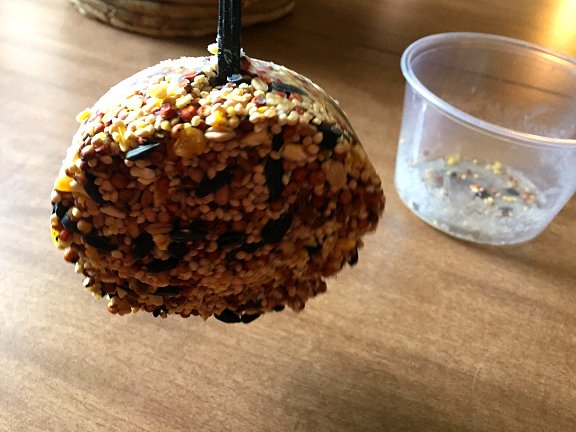
You can make this any time of year but you do not want to hang it outdoors in warm or especially hot weather because it will melt in the heat and sun. If it is off-season you can make them and pop them in your freezer and save them for the birds for next winter!


You can wash and reuse the container as well. 


Please note: you must use a solid fat for this project you cannot use liquid oil etc. You also must use the solid fat while it is in a liquid form. Once your bacon fat solidifies all you have to do is pop it into a warm oven for a minute or two to warm it up and make the fat liquid again and then you can use it for this project. 

Pin this post!


You might also like:


Article copyright ©Laura Beth Love 2021 and may not be republished in print or other media without express written permission from the author. For any link updates or corrections leave correct info in comment area. 

Sunday, March 20, 2022

How To Bake Bacon! How To Bake Bacon In The Oven

Maybe it's because it's the way my mom always prepared it, but I always fried my bacon in a frypan on the stovetop - for years! Yes, I dealt with the greasy stove and frypan to clean up afterward, and the occasional splatter on your arm - ouch!

Then I finally got smart and thought, I don't know why I am frying this and dealing with this messy cleanup every time I fry bacon. It's time to start baking it. 

And wow. What a difference baking your bacon makes! I am a new woman!! And it's sooo easy. 


Here's all you have to do...

To bake your bacon you will need:

A roll of parchment baking paper

A large pan with a lip around the edge

Bacon

An oven

A pair of tongs 

A plate with a paper towel or two


Directions:

Pull out a length of parchment paper from the roll that is a little bit larger than you pan. Tear the parchment from the roll and place it in your pan. Use your fingers to make deep creases around all edges of the parchment to fold the edges up. This is help catch all the grease that will bake out of the bacon so that you won't have to wash your pan when you're finished! If your parchment seems way too big or wide you can cut it down a bit with a pair of scissors. 

Preheat your oven to 350° Fahrenheit 

Lay your strips of bacon on your parchment covered pan as so:


One note here: Your slices of bacon will stick to each other  if you overlap them, so try to give them some space from each other. If you can't that's fine, but when you go to flip them you will need a little bit more patience. 

Put the pan in the oven and bake for 15 minutes, keeping an eye on it. If your bacon is very thin, bake for less time. If your bacon is thicker, you may need to bake it a bit longer. 

Here is my bacon after 15 minutes:


Now grab those tongs and flip each slice of bacon over.


Once all of the slices have been flipped, return the pan to the oven and bake for an additional 10 minutes, adjusting time to the thickness of your bacon as well as to your preference for how you like your bacon cooked: chewy or crunchy.


Now my bacon is finished!


Carefully remove the slices of finished bacon to the paper towel covered plate. That's all there is to it!


Allow the grease on the parchment to solidify and then throw away the parchment, OR... 


Check out my next blog post tomorrow to see what you can do with that parchment and grease! 

-Laura

Pin this post!


Article copyright ©Laura Beth Love 2022 and may not be republished in print or other media without express written permission from the author. For any link updates or corrections leave correct info in comment area. 

Thursday, July 30, 2020

Bacon Wrapped Pineapple Appetizer Recipe


These bacon wrapped pineapple appetizers are perfect for your summer party, luau, tiki party, or for whatever event you are celebrating. But you sure don't need a reason to make them! They are simple and easy to make, they can be assembled in minutes, and only take a few ingredients. 

You will need:

Wooden toothpicks
Sliced bacon
Pineapple chunks (fresh or canned in juice)
Brown Sugar
Rimmed baking sheet and aluminum foil

Directions:

1. Count your pineapple chunks to determine how many toothpicks you will need (count out one for each pineapple chunk.) Fill a cup with warm water and soak the needed amount of wooden toothpicks in the water while you assemble the rest of your ingredients. (Soak them for at least five minutes.)

Note: Be careful not to cross-contaminate your pineapple chunks with the raw bacon. Put any pineapple that you are not going to wrap with bacon into your refrigerator before you open the bacon.

2. You will use either 1/2 or 1/3 slice of bacon for each pineapple chunk, depending on how long the bacon is. If your bacon is super-long you may need to cut it into thirds. Otherwise, cut your slices of bacon in half with kitchen/food scissors.

3. Wrap each pineapple chunk with a piece of the raw bacon and then secure the bacon snugly to the pineapple by spearing it completely through with one of the soaked toothpicks. 

4. Place the speared pieces on a foil-lined rimmed baking sheet. The fat from the bacon will melt in the oven and make these a bit messy, so do NOT use a flat cookie sheet. 

5. Sprinkle each appetizer with brown sugar. 

6. Bake in 375 degree F oven for 15 minutes, then check and then continue to bake in 5-minute intervals until the bacon starts to crisp. Total bake time of approximately 25 minutes.

7. Serve plain or with Hawaiian BBQ sauce, or soy sauce with a sprinkle of cayenne pepper if you like things a little spicy! 


Here I used a broiler pan to make these but you should line it with foil if you have it on hand.  That will make cleanup much easier.


Sprinkle with brown sugar and then pop into the oven. 


So delicious!


Pin this post!


Have a great week!
Laura

Join me on: 


Article copyright Laura Beth Love 2020 and may not be republished in print or other media without express written permission from the author. For any link updates or corrections leave correct info in comment area.